Projects
Brainstorm: Batch AI Image Generation with Gemini
A desktop app for generating multiple AI images at once, with iterative refinement through conversation.
A desktop app for generating multiple AI images at once, with iterative refinement through conversation.

Embedding markdown documentation directly in your app and letting Claude maintain it produces docs that stay accurate, include real diagrams, and don't rot.

An Electron app for recovering Claude Code conversations that have errored out and become unresumable.

A Python bridge that maps PS5 controller buttons to Rokoko Studio commands, so you can start and stop captures without walking back to the computer.

Treat LocalStack as disposable infrastructure. Destroy the container on every deploy and avoid partial teardowns.

One way to centralise loading, error, and retry UI for React Query without leaking query state into every component.
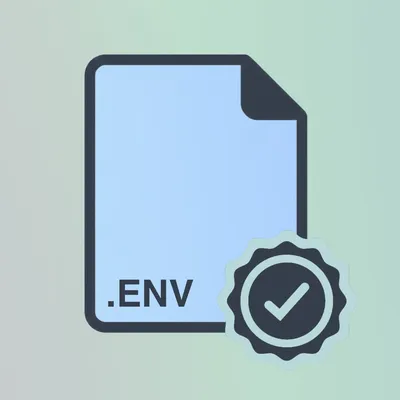
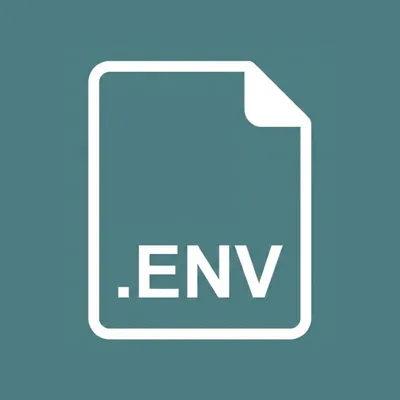
A drop-in wrapper for convar that validates environment variables against your .env.example file.
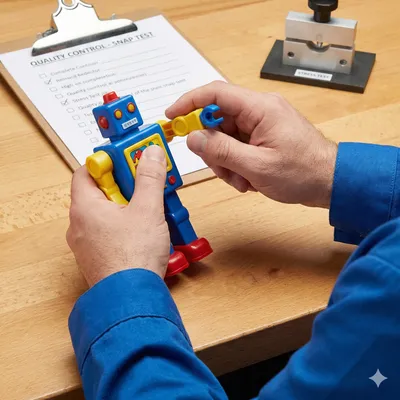
Building components in isolation with comprehensive demos catches edge cases that unit tests miss and ensures your UI handles failure gracefully.

A lightweight event tracking system built on DynamoDB that provides visibility across your services without the cost or complexity of third-party logging platforms.
A testing strategy that mirrors how you build UIs — composable, isolated, and resilient to change.

How to spin up a scalable, high-quality, low-cost system to support that next business idea.
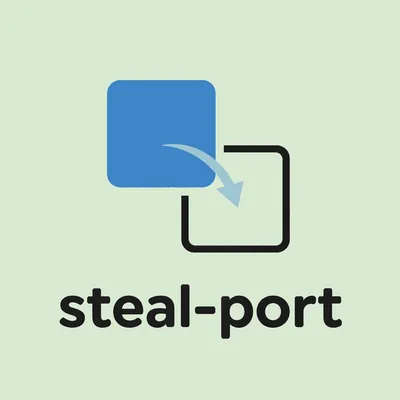
A CLI utility that kills whatever process is using your port, designed for developers working with AI coding assistants.
A clean pattern for swapping between real and mock APIs without polluting your components with mocking logic.

A pattern for shared, runtime-validated data models that catch issues early and keep frontend and backend in sync.
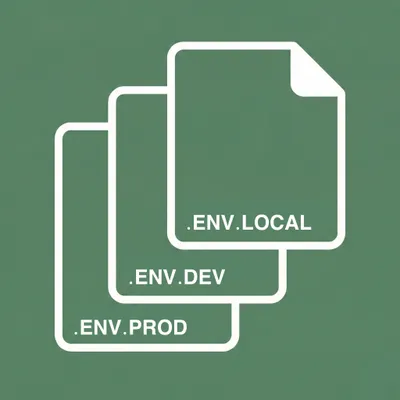
As the number of apps, services and environments grow over time, these tips keep your environment configurations files more manageable
Fail fast with explicit values. No defaults, no fallbacks, no computed configuration.
null and undefined are not interchangeable. Treating them as such blurs intent, weakens APIs, and forces defensive code everywhere.
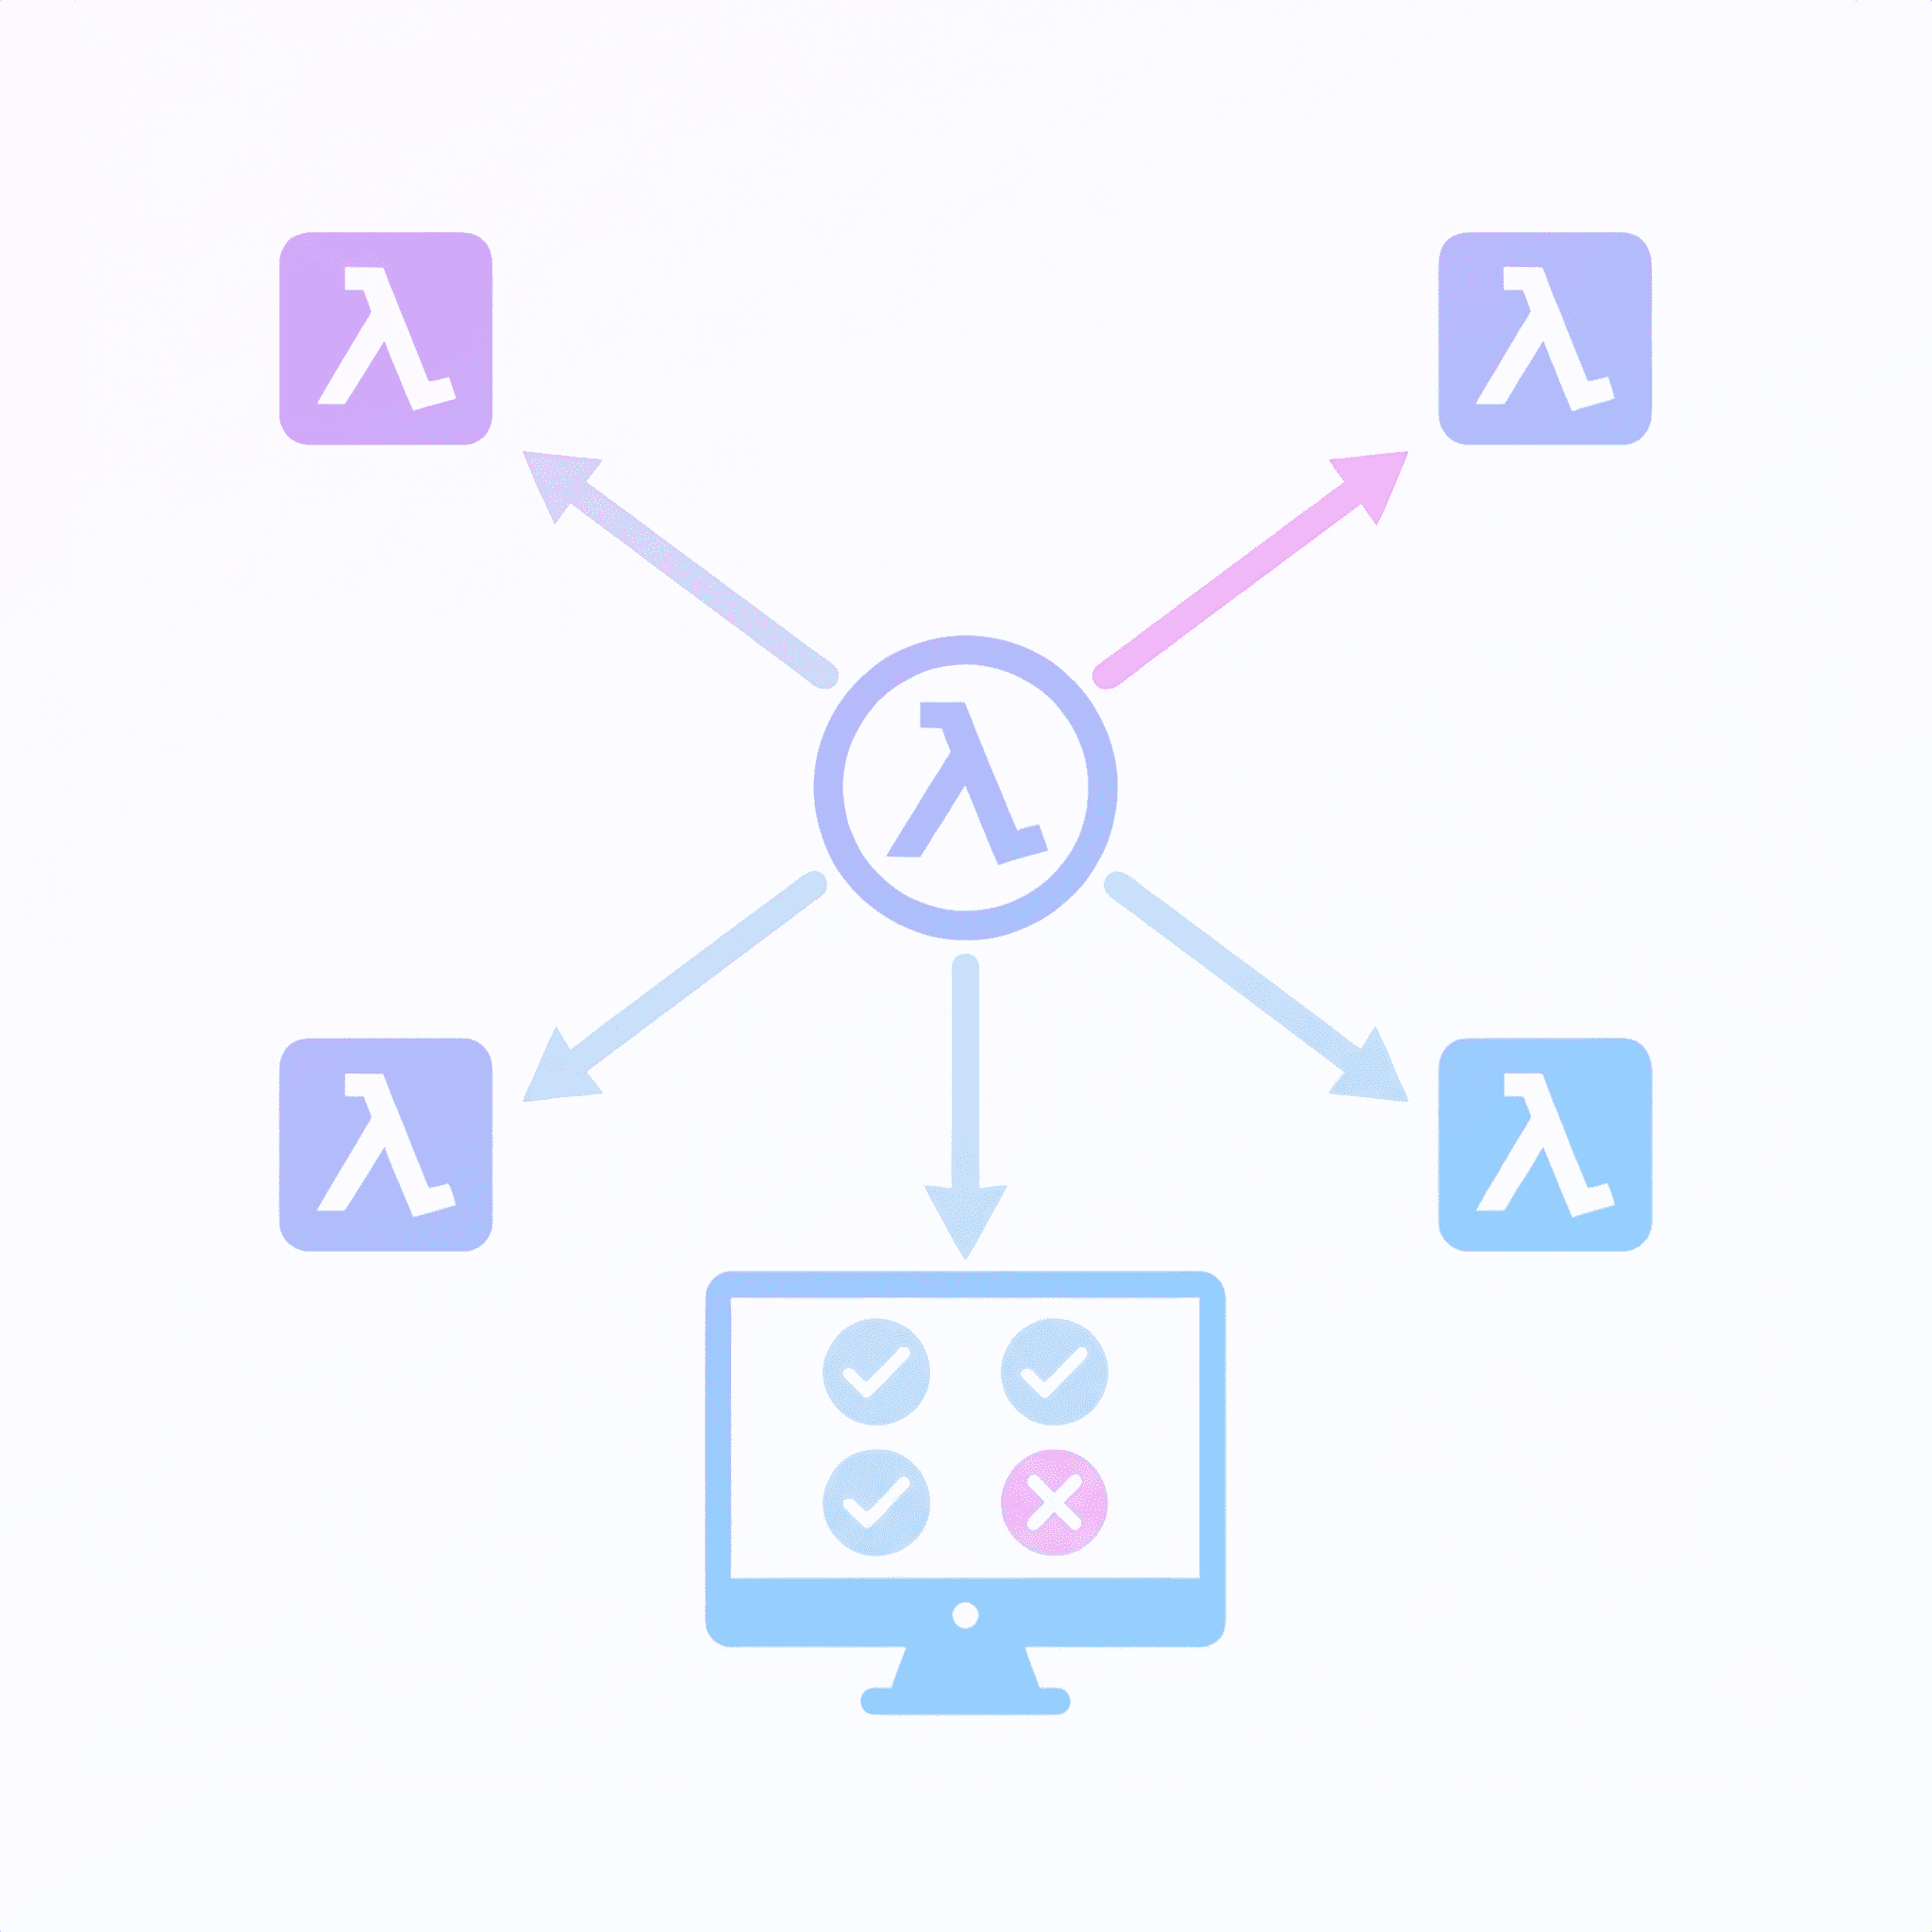
Tips for making lambdas easier to debug and maintain.

A practical pattern for preventing Tailwind v4 from culling classes in shared monorepo components.
The following article lists some SwiftUI features and design patterns that I personally like to refer back to. The criteria was simply things that might not be immediately obvious to novice/intermediate Swift coder.
NestJS is a great library for creating a web service. It strikes a nice balance between a comprehensive set of solutions to common problems, without feeling like a heavy framework. This article explains many of its features, before detailing some tips around things like seeding and AWS Lamda deployment.

A quick bash utility to make it fast and easy to create a new file within a new directory

How to import Rokoko motion capture animations onto a Mixamo-rigged character in Xcode, using Blender for retargeting and xcode-collada for DAE cleanup.
A CLI tool that cleans up DAE files so Xcode can actually load them. Handles animation tag structure, ID formatting, and XML inconsistencies.

A guide to importing Mixamo characters into Xcode, covering common DAE file issues and how to resolve them with xcode-collada.