When recording motion capture with Rokoko, you need to be standing in front of the camera — but starting and stopping the capture requires clicking buttons on the computer. This means constantly walking back and forth between your performance area and the desk, which breaks the flow and makes it harder to get clean takes.
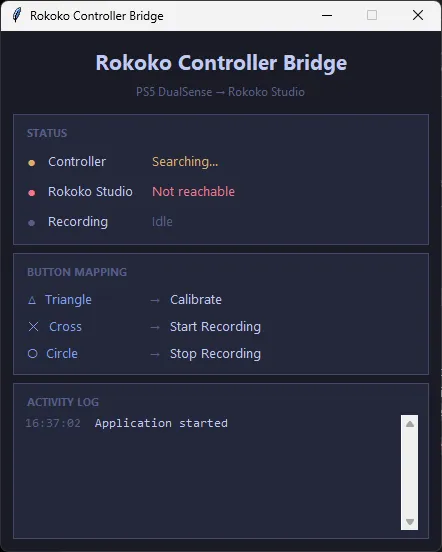
This tool bridges a PlayStation 5 controller to Rokoko Studio, letting you trigger calibration and recording from wherever you’re standing.
How It Works
The script runs alongside Rokoko Studio, monitoring controller input via pygame. When a mapped button is pressed, it either sends an HTTP command to Rokoko’s Command API or uses screen automation to interact with the Motion LIVE interface. Both the script and Rokoko can read from the same controller simultaneously on Windows, so there’s no conflict.
Button Mapping
Two actions are mapped by default:
- Triangle — triggers the Rokoko calibration sequence, with a 3-second countdown so you can get into position
- Cross (X) — starts Motion LIVE recording
A 5-second debounce prevents accidental double-triggers, which is important when you’re holding a controller during a performance.
Setup
The script needs Python 3 and a few dependencies:
pip install pygame pyautogui opencv-python
python controller_bridge.py
Rokoko Studio needs the Command API enabled. The API key, button assignments, and debounce timing are all configurable at the top of the script.
For the full Rokoko-to-Xcode animation pipeline, see Importing Rokoko Animations into Xcode.